
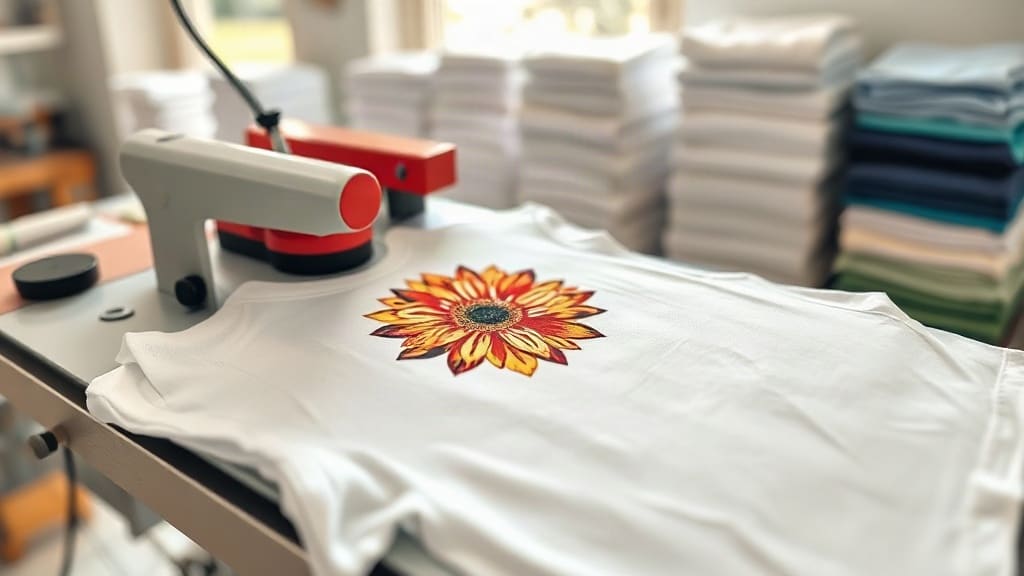
If you've been exploring custom apparel printing, you've likely encountered the term DTF transfers. This innovative technology has rapidly gained popularity for its versatility, vibrant colors, and ability to adhere to a wide range of fabrics. Whether you're a small business owner looking to offer custom t-shirts or a DIY enthusiast wanting to create personalized gifts, understanding DTF transfers can open up a world of creative possibilities. In this guide, we'll dive deep into what DTF transfers are, how they work, and why they might be the perfect solution for your next project.
What Are DTF Transfers?
DTF stands for Direct to Film. Unlike traditional printing methods that require specialized equipment or pre-treated fabrics, DTF transfers involve printing a design onto a special film, coating it with a powdered adhesive, and then heat-pressing it onto the fabric. The result is a durable, stretchable, and vibrant print that can be applied to almost any material, including cotton, polyester, blends, and even leather.
The process begins with a digital design that is printed onto a PET film using specialized DTF inks. These inks are typically pigment-based and offer excellent color vibrancy. After printing, a fine layer of hot-melt adhesive powder is applied to the wet ink. The excess powder is shaken off, and the film is then cured to melt the powder, creating a dry, tacky surface. When you're ready to apply the transfer, you simply place it on your garment and use a heat press to bond it permanently.
Why Choose DTF Transfers?
There are several compelling reasons why DTF transfers have become a go-to choice for many in the custom apparel industry. Let's explore the key benefits.
Versatility Across Fabrics
One of the biggest advantages of DTF transfers is their ability to adhere to a wide variety of materials. Unlike heat transfer vinyl (HTV) that often requires specific fabric types, DTF can be applied to cotton, polyester, nylon, silk, and even leather. This makes it an excellent option for printing on everything from 100% cotton t-shirts to performance wear and canvas bags.
No Weeding or Cutting Required
With DTF transfers, you skip the tedious process of weeding (removing excess vinyl) that is common with HTV. The design is printed directly onto the film, so there's no need for manual cutting or weeding. This saves time and reduces the risk of errors, making it ideal for intricate designs with fine details.
Vibrant and Durable Prints
DTF transfers produce bright, opaque colors that stand out on both light and dark fabrics. The prints are also highly durable, withstanding repeated washing without cracking, peeling, or fading. When applied correctly, a DTF transfer can last as long as the garment itself.
Cost-Effective for Small Batches
For small businesses or individuals who need short runs, DTF transfers are more cost-effective than screen printing, which requires setup costs for each color. With DTF, you can print one-off designs or small batches without breaking the bank.
How to Apply DTF Transfers: Step-by-Step
Applying DTF transfers is straightforward, but following the correct steps ensures a professional finish. Here's a detailed guide.
Materials You'll Need
- DTF transfer (printed and powdered)
- Heat press (or iron with no steam)
- Garment (pre-washed and lint-free)
- Heat-resistant tape (optional)
- Parchment paper or Teflon sheet
Step 1: Prepare Your Workspace
Set up your heat press on a stable surface and preheat it to the recommended temperature. For most DTF transfers, a temperature between 300°F and 325°F (150°C to 160°C) is ideal. If you're using an iron, set it to the highest temperature with no steam.
Step 2: Pre-Press the Garment
Pre-press the garment for a few seconds to remove any moisture and wrinkles. This step is crucial for achieving a smooth, even adhesion.
Step 3: Position the Transfer
Place the DTF transfer on the garment with the printed side facing up. If your transfer has a clear carrier film, the design should be touching the fabric. Use heat-resistant tape to secure it in place if needed.
Step 4: Apply Heat and Pressure
Cover the transfer with parchment paper or a Teflon sheet. Apply the heat press with medium to firm pressure for 10-15 seconds. If using an iron, press down firmly and move in a circular motion for about 2-3 minutes.
Step 5: Peel the Film
Allow the transfer to cool completely before peeling off the carrier film. This is known as a cold peel. Slowly peel the film away from one corner. If the design lifts, press again for a few more seconds.
Step 6: Post-Press for Durability
For added durability, cover the design with parchment paper and press again for 5-10 seconds. This helps the adhesive fully bond with the fabric.
Common Mistakes to Avoid with DTF Transfers
Even though DTF transfers are user-friendly, some pitfalls can ruin your results. Here are mistakes to watch out for.
- Insufficient pressure: Without enough pressure, the transfer won't adhere properly, leading to peeling. Make sure your heat press is calibrated.
- Wrong temperature: Too low and the adhesive won't melt; too high and you risk scorching the fabric or the film. Always follow the transfer supplier's recommendations.
- Peeling too soon: Hot peeling can cause the design to stretch or smear. Always wait for it to cool.
- Not pre-pressing: Skipping pre-pressing can trap moisture, causing bubbles or poor adhesion.
- Using steam: Steam from an iron can ruin the transfer. Always use a dry iron or heat press.
DTF Transfers vs. Other Printing Methods
How do DTF transfers stack up against other popular printing techniques? Let's compare.
DTF vs. Screen Printing
Screen printing is cost-effective for large orders but requires separate screens for each color, making it expensive for small batches. DTF transfers have no setup costs and can handle full-color designs in one go. However, screen printing may offer slightly better durability for extremely high-volume runs.
DTF vs. HTV
HTV is great for simple, single-color designs but requires weeding and layering for multi-color prints. DTF transfers handle complex, multi-color designs without any weeding. DTF also adheres to more fabric types than HTV.
DTF vs. DTG
Direct-to-garment (DTG) printing is ideal for 100% cotton fabrics and produces soft, breathable prints. However, DTG requires pre-treatment and can be less vibrant on dark colors. DTF transfers work on more fabrics and often produce more opaque colors.
Tips for Getting the Best Results
To ensure your DTF transfers look professional and last long, keep these tips in mind.
- Store transfers properly: Keep unused DTF transfers in a cool, dry place away from direct sunlight. Avoid stacking them under heavy objects.
- Test on scrap fabric: Before pressing onto your final garment, do a test press on a similar fabric to dial in your settings.
- Wash inside out: To prolong the life of your printed apparel, wash it inside out in cold water and tumble dry low.
- Use a quality heat press: A reliable heat press ensures consistent temperature and pressure, which are critical for DTF success.
- Choose the right film: Not all DTF films are created equal. Invest in high-quality film and powder for best results.
Frequently Asked Questions About DTF Transfers
Can I use DTF transfers on 100% polyester?
Yes, DTF transfers work well on polyester. However, because polyester is heat-sensitive, you should use a lower temperature (around 280°F to 300°F) and shorter press time to avoid scorching or dye migration. Always test first.
How long do DTF transfers last?
When applied correctly, DTF transfers can last 50+ washes without significant fading or cracking. Proper washing and care will extend their life further.
Do I need a special printer for DTF transfers?
Yes, DTF printing requires a printer that uses DTF pigment inks and a film that can handle the ink. You can also buy pre-printed DTF transfers from suppliers if you don't want to invest in a printer.
Can I stretch the garment after applying a DTF transfer?
DTF transfers are flexible and can stretch with the fabric without cracking, thanks to the elastic nature of the adhesive and inks. However, excessive stretching may still cause damage over time.
What is the best way to store DTF transfers?
Store them flat in a cool, dry place, away from moisture and direct sunlight. Avoid folding or creasing the transfers, as this can damage the adhesive layer.
DTF transfers offer a perfect blend of quality, versatility, and ease of use. Whether you're creating custom team jerseys, promotional items, or personalized gifts, this technology empowers you to bring your designs to life on almost any fabric. With the right techniques and a bit of practice, you'll achieve professional-looking results that impress.