
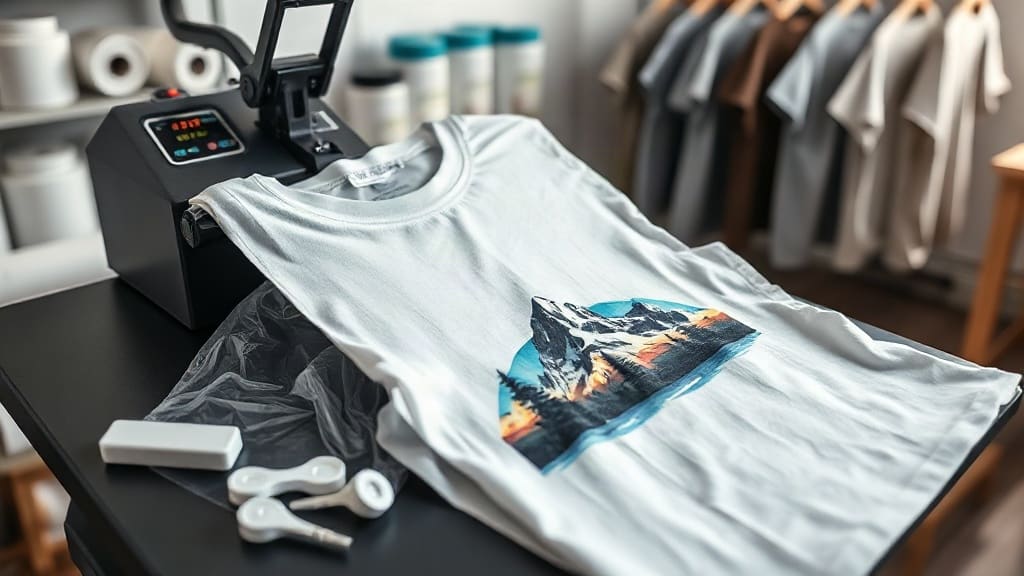
Custom apparel printing has evolved dramatically over the past decade, and one technology that has captured the attention of both professionals and hobbyists is DTF transfers. Unlike traditional methods that require specific fabrics or complex setups, DTF transfers offer unmatched versatility and vibrant results. Whether you're a small business owner looking to expand your product line or a DIY enthusiast wanting to create personalized gifts, understanding DTF transfers can open up a world of creative possibilities. In this guide, we'll walk you through everything you need to know about DTF transfers, from the basics to advanced tips, so you can achieve professional-quality prints right in your workshop.
What Are DTF Transfers?
DTF stands for Direct-to-Film. It's a printing technique where your design is printed onto a special PET film using water-based pigments, then coated with a hot-melt adhesive powder. Once the powder is cured, the transfer is ready to be applied to fabric using a heat press. The magic of DTF transfers lies in their ability to bond with a wide range of materials, including cotton, polyester, blends, and even leather. This flexibility makes them a favorite for printing on t-shirts, hoodies, tote bags, and more.
One common misconception is that DTF is the same as DTG (Direct-to-Garment). While both are digital printing methods, DTG prints directly onto the garment, whereas DTF prints onto a film that is then transferred. This extra step gives DTF a significant advantage: you can print on dark and light fabrics without pre-treatment, and the results are incredibly durable.
Why Choose DTF Transfers Over Other Methods?
If you're wondering whether DTF is right for your projects, consider these key benefits:
- Versatility: Works on almost any fabric, including nylon, canvas, and spandex.
- No weeding or cutting: Unlike vinyl, DTF transfers come ready to press, saving hours of tedious work.
- Vibrant colors: The water-based inks produce bright, opaque prints that pop on both light and dark garments.
- Durability: When applied correctly, DTF prints withstand repeated washing without cracking or fading.
- Cost-effective for small batches: No minimum order quantities, making it ideal for one-offs or sample runs.
Compared to screen printing, DTF is more accessible for intricate designs with gradients and fine details. And unlike sublimation, which only works on polyester, DTF adheres to cotton and blends with ease. For many print shops, DTF transfers have become the go-to solution for fulfilling diverse orders quickly.
The DTF Transfer Process: Step by Step
Understanding the workflow helps you troubleshoot issues and produce consistent results. Here's a breakdown of the DTF process from start to finish.
1. Design Preparation
Start with a high-resolution image (300 DPI is recommended). Remove any background if you want a transparent effect, though DTF can print white ink as a base, so backgrounds aren't always necessary. Ensure your design is mirrored horizontally before printing; this is crucial because the film will be flipped when applied.
2. Printing
Load the PET film into your DTF printer. The printer lays down a layer of white ink, followed by CMYK colors. Some printers also apply a protective layer. The white ink acts as an opaque base, allowing the colors to stand out on dark fabrics. After printing, the film is dusted with hot-melt adhesive powder. Excess powder is shaken off, and the film goes into a curing oven or under a heat source to melt the powder.
3. Curing
Curing is critical. The powder must reach its melting point (typically around 160°C/320°F) to create a strong bond. Under-curing leads to poor adhesion, while over-curing can cause the film to become brittle. Follow your powder manufacturer's recommendations for time and temperature.
4. Heat Press Application
Set your heat press to 150-160°C (300-320°F) with medium pressure. Place the transfer on the garment, cover with a protective sheet, and press for 10-15 seconds. For peel, you can either hot peel or cold peel depending on the film type; most DTF films are cold peel, meaning you wait a few seconds before removing the carrier film. After peeling, a second press for 5-10 seconds (without the film) ensures the print is fully embedded.
5. Post-Pressing
A final press helps smooth the print and improve wash durability. Use a Teflon sheet or parchment paper to protect the design. And there you have it: a professional-looking custom garment in minutes.
Common Challenges and How to Overcome Them
Even with a solid process, issues can arise. Here are some common problems and their solutions:
- Faded prints: Usually caused by insufficient pressure or temperature. Increase pressure and verify temperature with an infrared thermometer.
- Cracking after washing: Often due to under-curing of the adhesive powder. Extend curing time or raise temperature slightly.
- Peeling edges: Ensure the garment is flat and wrinkle-free before pressing. Also, check that the transfer is fully cooled before peeling if using cold-peel film.
- Color shifting: Some fabrics, especially those with dye migration issues (like polyester), may cause colors to bleed. Using a lower temperature and a blocker layer can help.
With practice, you'll learn to adjust variables for perfect results every time.
Design Tips for Stunning DTF Transfers
To make your prints stand out, keep these design principles in mind:
- Use high-contrast colors: DTF excels with bold, saturated hues. Avoid overly subtle gradients that may not translate well.
- Outline text: Adding a thin white or black outline ensures readability on any fabric color.
- Test small details: Very fine lines (below 1pt) may not reproduce crisply. Simplify or thicken lines if needed.
- Consider fabric texture: Rough textures like canvas can affect detail. For such materials, opt for simpler designs.
Remember, DTF transfers allow for photographic-quality images, so don't be afraid to experiment with complex artwork.
DTF vs. Other Printing Methods: A Quick Comparison
How does DTF stack up against the competition?
- Screen Printing: Better for large orders of simple designs, but DTF wins for small batches and detailed art.
- DTG: DTG requires pre-treatment and works best on 100% cotton. DTF works on more fabrics and often has a softer feel.
- Vinyl: Vinyl is limited to single-color designs and requires weeding. DTF handles full-color, intricate designs effortlessly.
- Sublimation: Sublimation only works on polyester and requires white fabric. DTF can print on any color and material.
For many businesses, adding DTF to their repertoire means they can say yes to more customer requests.
Frequently Asked Questions About DTF Transfers
How long do DTF transfers last?
When applied correctly and cared for properly, DTF transfers can last as long as the garment itself. Wash inside out in cold water and avoid harsh detergents. Tumble dry low or hang dry.
Can I use DTF transfers on 100% polyester?
Yes, DTF works on polyester, but you may need to adjust temperature settings to avoid dye migration. Using a lower temperature (around 140°C/285°F) and a longer press time can help.
Do I need a special printer for DTF?
You can convert a standard inkjet printer to use DTF inks, but dedicated DTF printers are recommended for best results. They are designed to handle the white ink and powder process efficiently.
What is the cost per print for DTF?
Costs vary based on design size and ink usage, but generally, DTF is more economical than DTG for small batches. You can expect to pay around $1-$3 per A4-sized transfer, depending on your supplies.
Can I layer DTF transfers?
Yes, you can layer DTF transfers for multi-color effects, but it's tricky. It's easier to print the entire design as one transfer. If layering, press the first transfer, then apply the second on top, ensuring proper adhesion.
DTF transfers are a game-changer for anyone in the custom apparel industry. With their versatility, durability, and ease of use, they empower creators to bring their ideas to life on almost any fabric. Whether you're just starting out or looking to expand your services, mastering DTF transfers is a worthwhile investment. So gather your designs, fire up your printer, and start creating stunning, long-lasting apparel that your customers will love.