
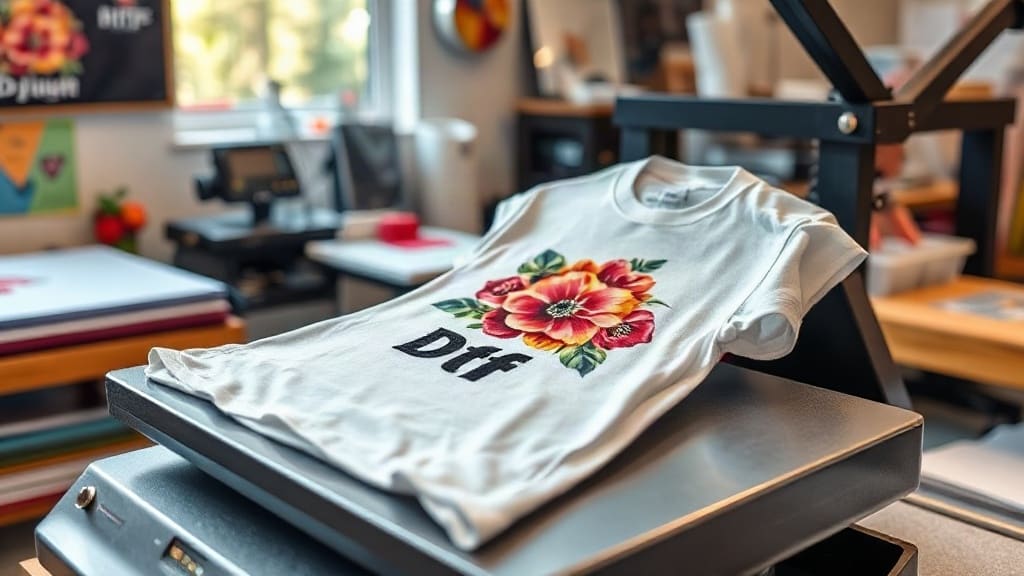
If you've been exploring custom apparel printing, you've likely encountered DTF transfers. Unlike traditional methods that require specific fabrics or extensive setup, DTF transfers offer a versatile and accessible way to bring your designs to life. Whether you're a small business owner, a hobbyist, or someone looking to personalize gifts, understanding DTF transfers can open up a world of creative possibilities. In this guide, we'll walk you through the entire process, from design to pressing, and share insider tips to help you achieve professional results every time.
What Are DTF Transfers?
DTF stands for Direct to Film. It's a printing technology where your design is printed onto a special PET film using water-based inks, then coated with a hot-melt adhesive powder. Once the powder is cured, the transfer is ready to be applied to fabric using a heat press. The magic happens when heat and pressure bond the design permanently to the material.
Unlike DTG (Direct to Garment) printing, which requires the garment to be pre-treated and printed directly, DTF transfers are printed separately and can be stored for later use. This makes them ideal for small batches, on-demand production, and even for printing on fabrics that are challenging for other methods, such as polyester, nylon, and leather.
Why Choose DTF Transfers?
There are several compelling reasons why DTF transfers have gained popularity among crafters and professionals alike:
- Fabric versatility: Works on cotton, polyester, blends, and even non-traditional materials like canvas and denim.
- No pre-treatment needed: Saves time and avoids the mess of spraying adhesives.
- Vibrant colors: The water-based inks produce bright, opaque prints that stand out.
- Durability: When applied correctly, DTF prints resist cracking, peeling, and fading.
- Cost-effective for small runs: No minimum order quantities, making it perfect for custom orders.
Additionally, DTF transfers allow for fine details and gradients that other methods might struggle to reproduce. If you've ever been frustrated by the limitations of vinyl or the complexity of screen printing, DTF could be your solution.
The DTF Transfer Process Step by Step
Let's break down the process into manageable steps, from creating your design to the final press.
1. Designing Your Artwork
Start with a high-resolution image. Vector files are ideal, but 300 DPI PNGs with transparent backgrounds work well too. Remember that the design will be printed in reverse, so if it contains text, make sure to mirror it. Most DTF printers come with software that handles this automatically, but it's good to double-check.
Color accuracy is crucial. While DTF inks are vibrant, they may appear slightly different on screen versus on fabric. If color matching is critical, consider printing a test sample first.
2. Printing and Powdering
The design is printed onto a PET film using a DTF printer. While still wet, the print is sprinkled with a hot-melt adhesive powder. The excess powder is shaken off, and the film is then heated to melt the powder, creating a smooth, dry surface. This step is often done in a dedicated powder shaker or oven, but some printers have integrated units.
Once cured, the transfer can be stored in a cool, dry place for weeks or even months. This flexibility is a game-changer for those who want to prepare designs in advance.
3. Preparing Your Fabric
Before pressing, ensure your garment is clean, dry, and free of wrinkles. Pre-pressing for a few seconds removes moisture and wrinkles, creating a smooth canvas. For best results, use a heat press rather than an iron, as it provides consistent pressure and temperature.
4. Applying the Transfer
Set your heat press to the recommended temperature (usually 300-325°F or 150-160°C) and pressure (medium to firm). Place the transfer on the fabric with the design facing up. Cover it with a protective sheet or parchment paper to prevent sticking. Press for 10-15 seconds, then peel the film while it's still warm (warm peel) or let it cool completely (cold peel), depending on the film type. Always follow the manufacturer's instructions.
After peeling, press again for a few seconds to ensure the print is fully embedded. This step, often called a post-press, enhances durability.
5. Curing and Aftercare
Allow the garment to cool completely before handling. Wait 24 hours before washing. Turn the garment inside out and wash in cold water with mild detergent. Avoid bleach and fabric softeners, and tumble dry on low or hang dry. With proper care, your DTF print will last as long as the garment itself.
Common Challenges and How to Overcome Them
Even with the best equipment, issues can arise. Here are some common problems and their solutions:
- Peeling or cracking: Usually caused by insufficient pressure, temperature, or time. Increase one variable at a time and test.
- Dull colors: May indicate under-pressing or using too much powder. Ensure even powder coverage and proper curing.
- Adhesive residue: If the film leaves a sticky residue, it might be due to over-pressing or incompatible film. Try a different film or adjust settings.
- Faded prints after washing: Often a result of improper curing or washing with harsh chemicals. Always post-press and follow care instructions.
Remember, practice makes perfect. Keep a log of your settings for different fabrics and films to streamline future projects.
DTF vs. Other Printing Methods
How does DTF stack up against DTG, screen printing, and vinyl? Each has its strengths, but DTF shines in versatility and low setup costs. DTG is excellent for 100% cotton and high detail, but requires pre-treatment and can be costly for small runs. Screen printing is unbeatable for large orders but involves screens and setup fees. Vinyl is great for simple designs but limited in color and detail. DTF offers a happy medium: no minimums, vibrant colors, and compatibility with almost any fabric.
Tips for Success with DTF Transfers
To elevate your DTF game, consider these expert tips:
- Invest in a quality heat press: Consistent pressure and temperature are key. A clamshell or swing-away press works well.
- Use a teflon sheet or parchment paper: Protects both the transfer and your press.
- Test different films: Not all DTF films are created equal. Some peel warm, others cold; find what works for your workflow.
- Store transfers properly: Keep them in a cool, dry place away from direct sunlight to prevent premature curing.
- Join online communities: Forums and social media groups are treasure troves of troubleshooting advice and inspiration.
With a bit of experimentation, you'll develop a feel for what works best for your specific projects.
Frequently Asked Questions
Can I use DTF transfers on dark garments?
Absolutely! DTF transfers are printed with a white ink base, which allows them to show up vividly on dark colors. The white layer acts as a foundation, ensuring the colors remain bright and opaque.
How long do DTF transfers last?
When applied correctly and cared for properly, DTF prints can last for years. They resist cracking, peeling, and fading, often outlasting the garment itself. Following wash instructions is key to longevity.
Do I need a special printer for DTF?
Yes, DTF requires a dedicated DTF printer that uses water-based inks and can handle the film. However, you can also purchase pre-printed transfers from suppliers if you don't want to invest in a printer.
Can I stretch the fabric after applying a DTF transfer?
DTF transfers have some elasticity, but extreme stretching may cause cracking. For stretchy fabrics like spandex, consider using a stretchable DTF film or blending the design with the fabric's natural stretch.
What's the difference between DTF and DTG?
DTF involves printing on a film and transferring to fabric, while DTG prints directly onto the garment. DTF works on more fabric types and doesn't require pre-treatment, but DTG can be more cost-effective for large runs on cotton.
With this guide, you're well on your way to mastering DTF transfers. Whether you're printing t-shirts for your brand or creating custom gifts, the possibilities are endless. Happy pressing!