
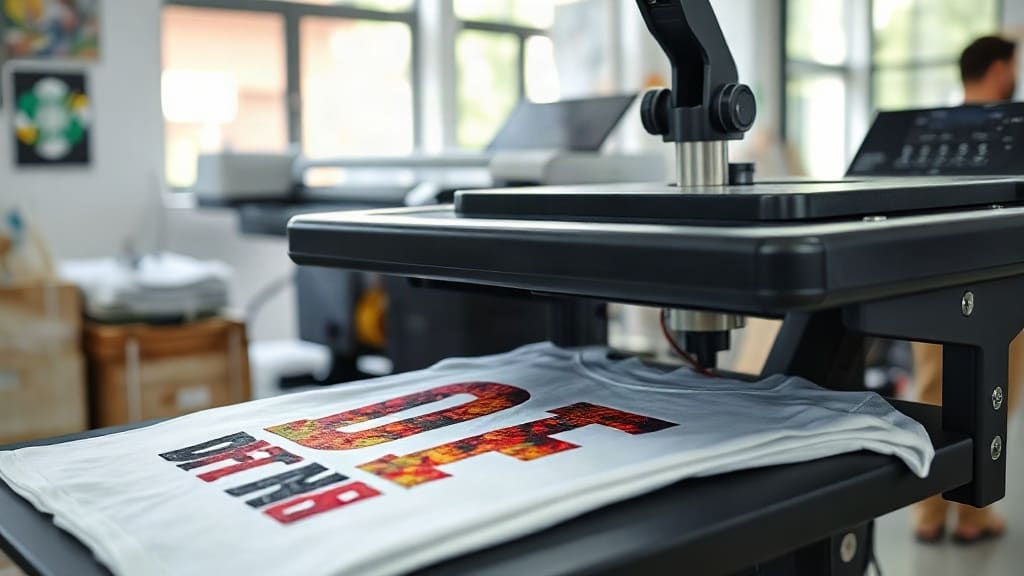
If you've been exploring custom apparel printing, you've likely encountered DTF transfers. This innovative technology is rapidly changing the game for small businesses, crafters, and anyone wanting to add vibrant designs to fabrics. Unlike traditional methods, DTF transfers offer a unique blend of versatility, durability, and simplicity that makes them accessible even for beginners. In this guide, we'll walk you through everything you need to know about DTF transfers, from the basics to pro tips, so you can achieve flawless results every time.
What Are DTF Transfers?
DTF stands for Direct to Film. It's a printing process where your design is printed onto a special film, coated with adhesive powder, and then heat-pressed onto the fabric. The result is a soft, stretchable print that bonds permanently with the material. Unlike DTG (Direct to Garment) printing, which requires specialized inks and pre-treatment, DTF transfers work on a wide range of fabrics, including cotton, polyester, blends, and even treated nylon. This flexibility makes DTF transfers a favorite among those who work with diverse materials.
The DTF Printing Process Step by Step
Understanding the process helps you troubleshoot and perfect your technique. Here's how it works:
- Design Preparation: Create your artwork in a graphics program. Remember to mirror the image if your design has text or directional elements.
- Printing: Your design is printed onto a PET film using specialized DTF inks. A white ink layer is typically applied behind the color layers to ensure opacity on dark fabrics.
- Powdering: While the ink is still wet, a hot-melt adhesive powder is sprinkled over the print. Excess powder is shaken off.
- Curing: The film goes through a curing oven or heat press to melt the powder, creating a dry, stable transfer.
- Transfer: The film is placed on the fabric and heat-pressed. After cooling, the film is peeled away, leaving the design bonded to the fabric.
Why Choose DTF Transfers Over Other Methods?
DTF transfers have several advantages that set them apart:
- Fabric Versatility: Works on almost any fabric, including dark and light colors, without the need for pre-treatment.
- Durability: The prints resist cracking, fading, and peeling even after multiple washes.
- Detail and Color: DTF transfers can reproduce intricate details and vibrant colors, including gradients and photographic images.
- Cost-Effective for Small Runs: No minimum order quantities, making it ideal for one-off projects or small businesses.
- Soft Feel: The prints have a soft hand feel, unlike some other transfer methods that leave a plastic-like texture.
For those who offer custom apparel, DTF transfers provide a competitive edge by allowing quick turnaround and high-quality results.
Getting Started: Essential Equipment and Supplies
To begin with DTF transfers, you'll need:
- DTF Printer: A dedicated printer that uses DTF inks. Some modified inkjet printers can work, but dedicated models yield better consistency.
- DTF Film: PET film designed for DTF printing. It comes in sheets or rolls.
- Adhesive Powder: Hot-melt powder specifically for DTF.
- Heat Press: A commercial-grade heat press capable of consistent temperature and pressure.
- Curing Oven (optional): For larger operations, a curing oven speeds up the powder melting process.
- Design Software: Such as Adobe Photoshop or CorelDRAW for creating and preparing artwork.
While the initial investment might seem high, the versatility and low cost per print make it worthwhile for many.
Step-by-Step Guide to Applying DTF Transfers
Applying DTF transfers is straightforward, but attention to detail ensures a flawless finish.
1. Prepare Your Workspace
Work on a clean, heat-resistant surface. Pre-press the garment for a few seconds to remove moisture and wrinkles. This step is crucial for proper adhesion.
2. Position the Transfer
Place the DTF transfer film on the garment with the printed side facing up. If your design has multiple colors, ensure it's oriented correctly. Use heat-resistant tape to hold it in place if needed.
3. Heat Press Settings
Set your heat press to the recommended temperature, usually between 300°F and 340°F (150°C to 170°C). Pressure should be medium to firm. Time varies from 10 to 20 seconds, depending on the film and fabric. Always follow the film manufacturer's guidelines.
4. Press and Peel
Press the transfer with consistent pressure. After pressing, allow the garment to cool completely before peeling the film. Peeling while hot can distort the design. For a matte finish, you can cover the design with a Teflon sheet and press again for a few seconds.
5. Post-Press Care
For best durability, wait 24 hours before washing. Turn the garment inside out and wash in cold water. Avoid bleach and fabric softeners. Tumble dry low or hang dry.
Common Mistakes and How to Avoid Them
Even experienced crafters can run into issues. Here are some pitfalls and solutions:
- Insufficient Pressure: Leads to poor adhesion. Adjust your heat press and test with a scrap piece.
- Wrong Temperature: Too low and the powder won't melt; too high and the film may scorch. Use a temperature gun to verify.
- Peeling Too Soon: Always wait for the transfer to cool. Patience is key.
- Poor Ink Coverage: Ensure your printer is set to the correct ink limits and that the white layer is sufficient for dark fabrics.
- Not Pre-Pressing: Moisture in the fabric can cause steam and uneven adhesion. Always pre-press.
By avoiding these mistakes, your DTF transfers will look professional and last.
DTF Transfers vs. Other Printing Methods
How does DTF stack up against screen printing, DTG, and vinyl?
- Screen Printing: Better for large orders, but DTF wins for detailed designs and small batches.
- DTG: Requires pre-treatment and works best on 100% cotton. DTF works on more fabrics and has vibrant colors on darks.
- Vinyl: Limited to simple designs and solid colors. DTF handles complex artwork with ease.
Each method has its place, but DTF transfers offer a unique combination of quality and flexibility.
Tips for Long-Lasting DTF Prints
To ensure your prints stand the test of time:
- Store unused transfers in a cool, dry place away from direct sunlight.
- Use a quality heat press with even pressure.
- Follow the wash care instructions strictly.
- Test on a scrap fabric before pressing the final garment.
Frequently Asked Questions
Can I use DTF transfers on any fabric?
DTF transfers work on a wide range of fabrics, including cotton, polyester, blends, and even some synthetics like nylon. However, fabrics with a high spandex content may require stretchable DTF film for best results. Always test on a small area first.
How long do DTF transfers last?
With proper application and care, DTF transfers can last as long as the garment itself. They resist cracking, fading, and peeling even after 50+ washes. Following the wash care instructions is key to longevity.
Do I need a special printer for DTF transfers?
Yes, you need a printer that uses DTF inks and can handle the film. While some modified inkjet printers can work, dedicated DTF printers are recommended for consistent quality and fewer clogs.
What is the difference between DTF and DTG?
DTG prints directly onto the fabric and requires pre-treatment, while DTF prints onto a film that is then transferred. DTF works on more fabric types and often produces more vibrant colors on dark garments.
How do I avoid the transfer peeling off?
Ensure you use sufficient pressure, correct temperature, and allow the transfer to cool completely before peeling. Also, pre-press the garment to remove moisture, and follow the film manufacturer's instructions.
With this guide, you're well on your way to mastering DTF transfers. Whether you're a hobbyist or a business owner, this technology opens up a world of possibilities for custom apparel. Experiment, practice, and enjoy the vibrant, durable results.